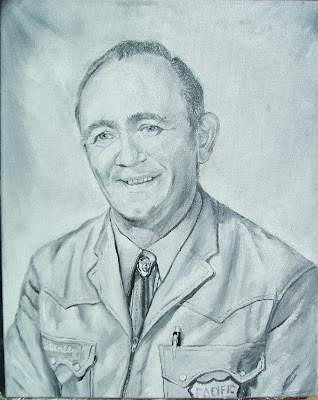
 When people see my portraits, they often ask, "How do you do that?" Fortunately, I just finished a custom portrait so I can show you! I took pictures throughout because I thought it would be a good opportunity to show others my process.
First, I start with a photograph and a blank canvas. For this particular portrait, the canvas is 11x14 inches and the photo is 5x7 inches.

Now because the ratios of the canvas and the photograph are different, I have to make some adjustments to the photo. The ratio of the canvas is 11x14 but the photo is 5x7 inches. If I double the photo size, the ratio will be 10x14 inches which means that we are short by 1 inch in the width- I have to make the photo wider to compensate. I am going to make it half an inch wider so that when I double it, it will equate to that missing inch; this makes the scales of the photo and canvas the same (5.5x7 is the same as 11x14)

Next, I have to draw the grids on. Starting on the width of the photo, I divide it exactly in half with a vertical line. Then I divide those two halves into half again, and then again until the photo has been divided into eighths. Depending on the detail of the photo, I may divide it into sixteenths. I did this in the area of the face.
Then, I do the same thing to the height of the photo, dividing it into equal parts with horizontal lines until it is divided into eighths.

Next, I draw the grid onto the canvas using the same method that I used for the photo. People are often confused when they see the grids because the lines form rectangles and not perfect squares. But as you can see, the lines are drawn up mathematically.
After drawing the lines, I pencil in the outline of the image and mark in any places where darker shading might be required.

Go to Part II.

No comments:
Post a Comment