
Once I get the grid on the canvas and the image sketched into the lines, the fun can begin!
I always start with the "easiest" part first, which is the larger areas with less detail. If I do this, I can see progress on the portrait more quickly and it helps to give me vision on what the final product will be. Personally, I find it more difficult to start on the details of a face because I can't tell if it is in perfect proportion to the other characteristics of the person, like jaw structure and shape of the head, but I do know other artists who prefer to start with the face and work outwards. It's a matter of personal preference really.
With this portrait, I filled in the background first and then started on the jacket, working from left to right because I am right-handed.

The nice thing about oil paint is that it stays wet longer which makes it easier to shade and blend. I like that I can take my time and can occasionally step back from the painting to get a different perspective.
I left out doing the finer details, like doing the zipper and his name. I prefer to do these fine details on top of the paint when it's dry because the lines will be crisper.

After this, I start to work on the face going from "easiest" to "most difficult". I start with the neck, chin, cheeks,nose, and forehead.

Now it's time for the detailed parts. I do the ears and eyebrows first. Then I do the eyes, and finally the mouth. When doing the face, I always save the mouth for last. It's amazing how much the smile can make or break a portrait and it is actually a very tricky part to paint. The proportions of each tooth must be absolutely perfect.
Sometimes, I find it easier to paint the mouth by turning the canvas upside-down. It changes my perspective on painting it. I no longer think of it as a mouth but as a combination of geometric shapes and angles. If you are running into frustrations in painting a specific part, try turning the canvas upside-down. Sometimes it will surprise you how far "out" you were in your measurements. It's amazing how it will all come together. This was one of the best tips I ever got from another artist; and now I'm sharing it with you :)
I leave the hair as the last structure to paint. I do this for two reasons, 1) It's a bit easier than the details of the face and I use it as a kind of reward for getting the face correct and 2) it's a structure that can be painted over top of other elements in the painting, like the ears, forehead and background. This helps to give it depth.
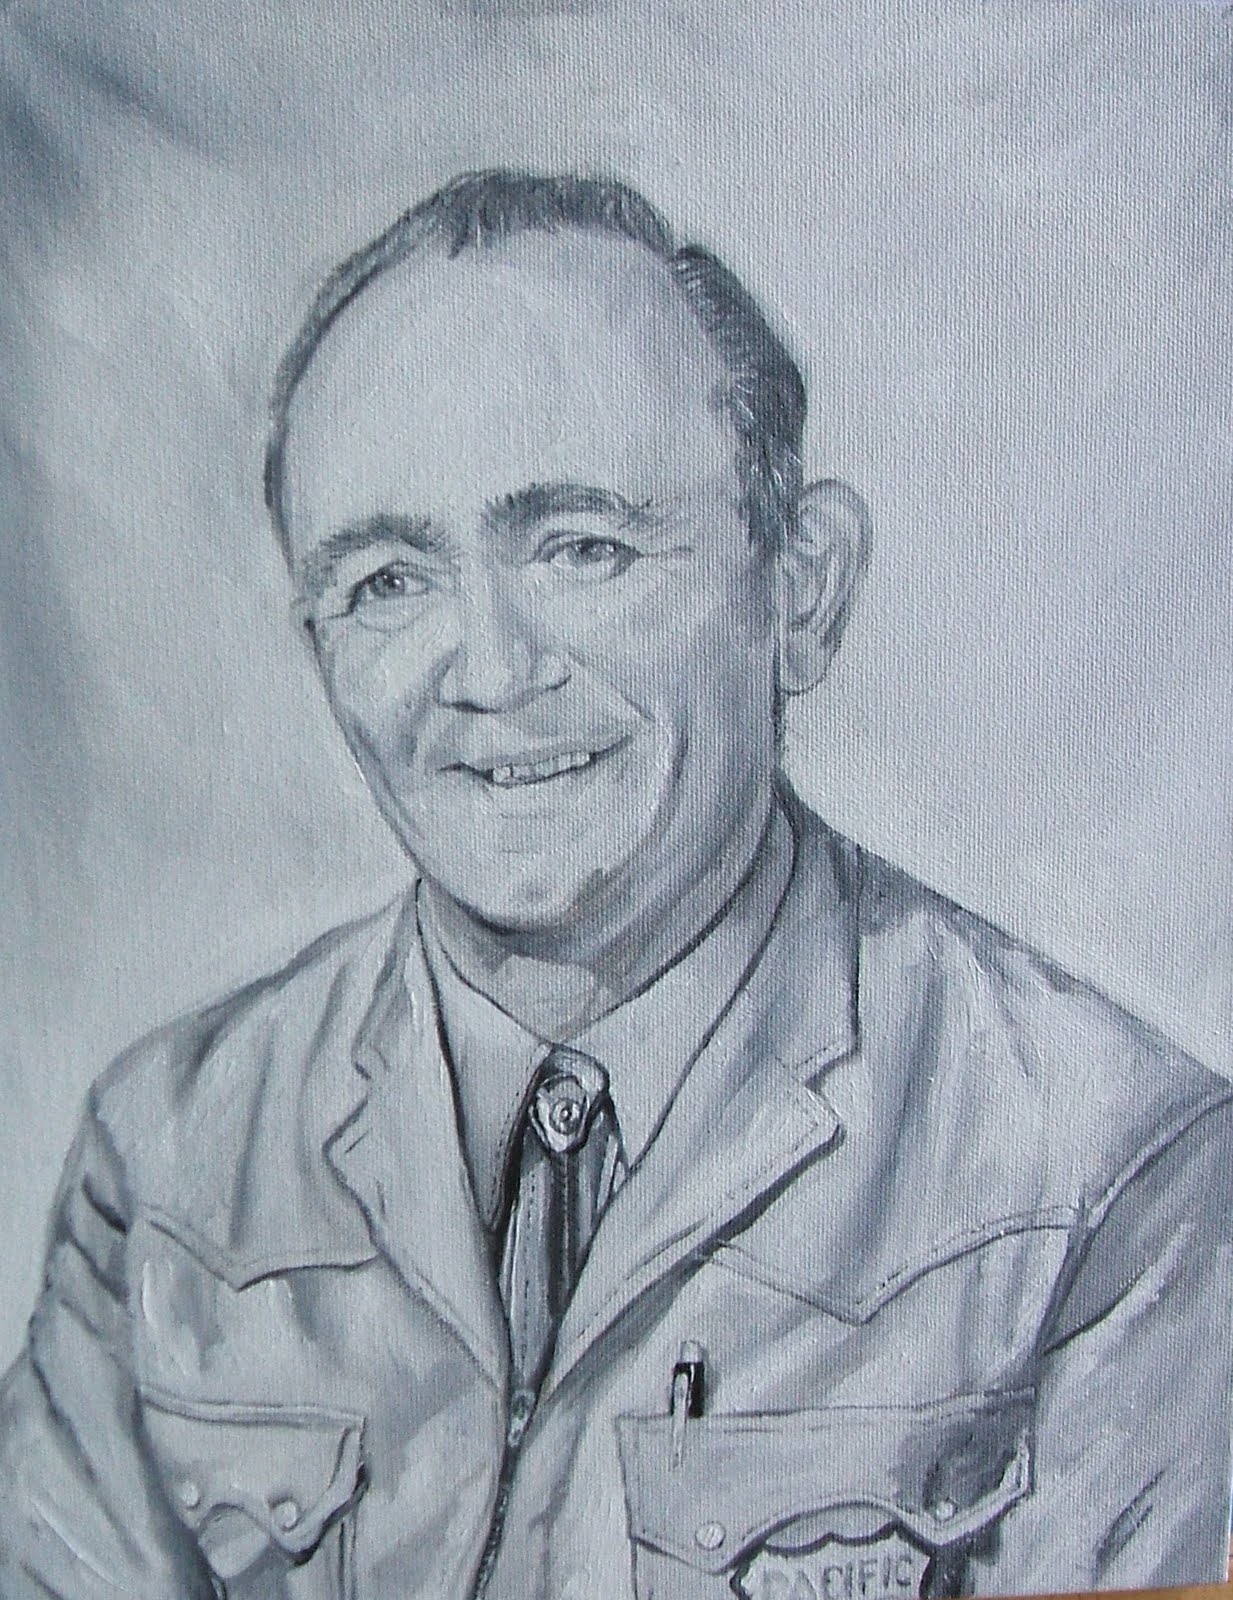
Lastly, I do final touch-ups. In this painting, it was the name on his shirt, the zipper, and the highlights on the pupils of his eyes. By this point, the paint has dried enough for me to do these delicate details.

And here's a photo of the final product!

Now all it needs to do is dry out completely before I send it to the customer!
If you're reading this, thanks for sticking with me all the way to the end; I know it was a long one but hopefully you've enjoyed seeing the process and maybe gotten some tips too for your own work. I would love to hear any comments or questions you might have :)
Happy painting!
this is great! I'm definately not a painter but I love how you explained every step!
ReplyDeleteWow! That looks like it took a long time.
ReplyDeleteJust wonderful! Thank-you for the detailed walk-through, that alone was a lot of work, and this portrait is gorgeous.
ReplyDeleteThanks ladies! I love doing projects like this :)
ReplyDelete